How to Get Your Cakesmash Twinkle Lights to Show Up
Do you struggle to get your twinkle lights to show up in your cakesmash designs? I’m going to give you a few tips about aperture and focal length and distance from subject that will give you all of the knowledge you need to get this adorable lighting effect in camera.
I love adding bokeh/twinkle lights to my backgrounds for cakesmash sessions. It adds the perfect little sparkle to the celebration. And it’s super simple once you understand the basic principles behind getting that bokeh-y (not really a word 😬) effect.
bo·keh | \ ˈbō-kā , -kə \
Definition of bokeh as defined by Merriam-Webster
: the blurred quality or effect seen in the out-of-focus portion of a photograph taken with a narrow depth of field.
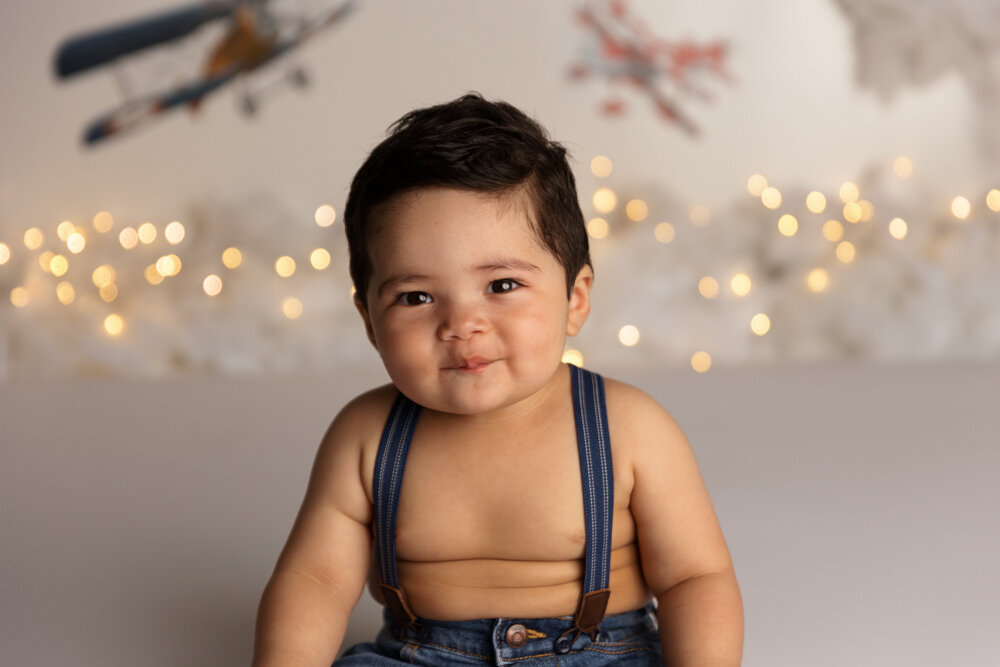
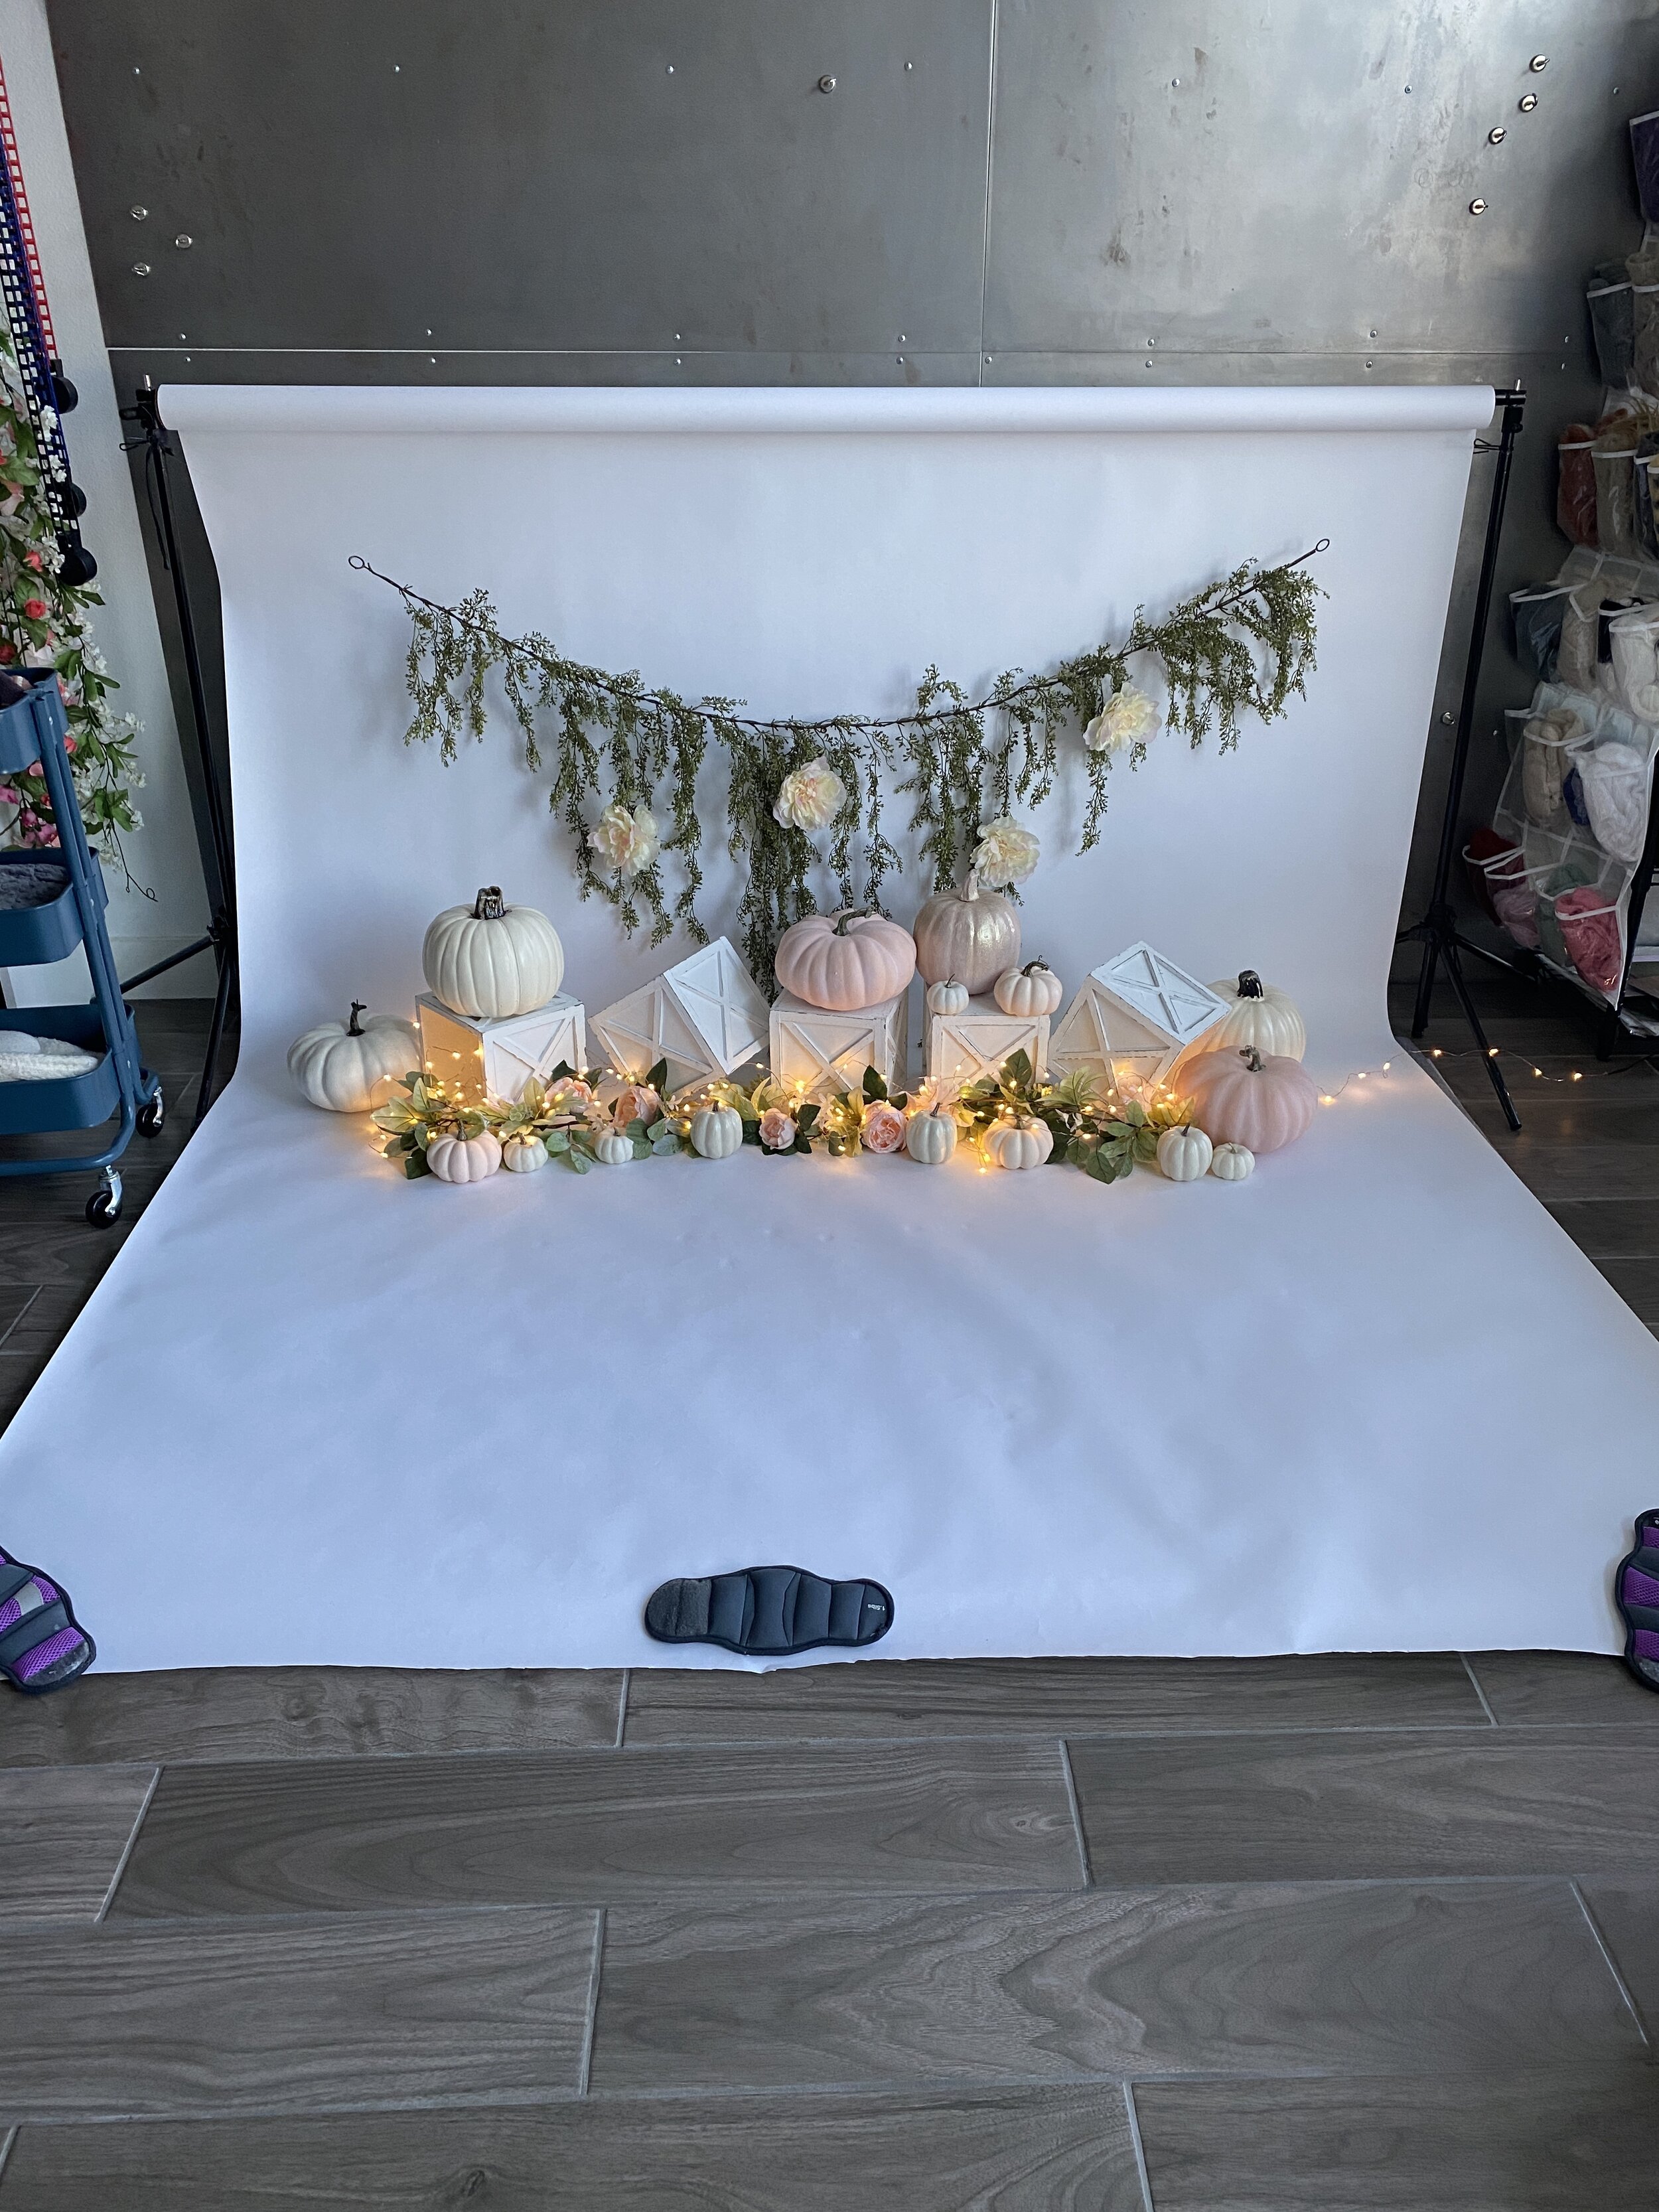
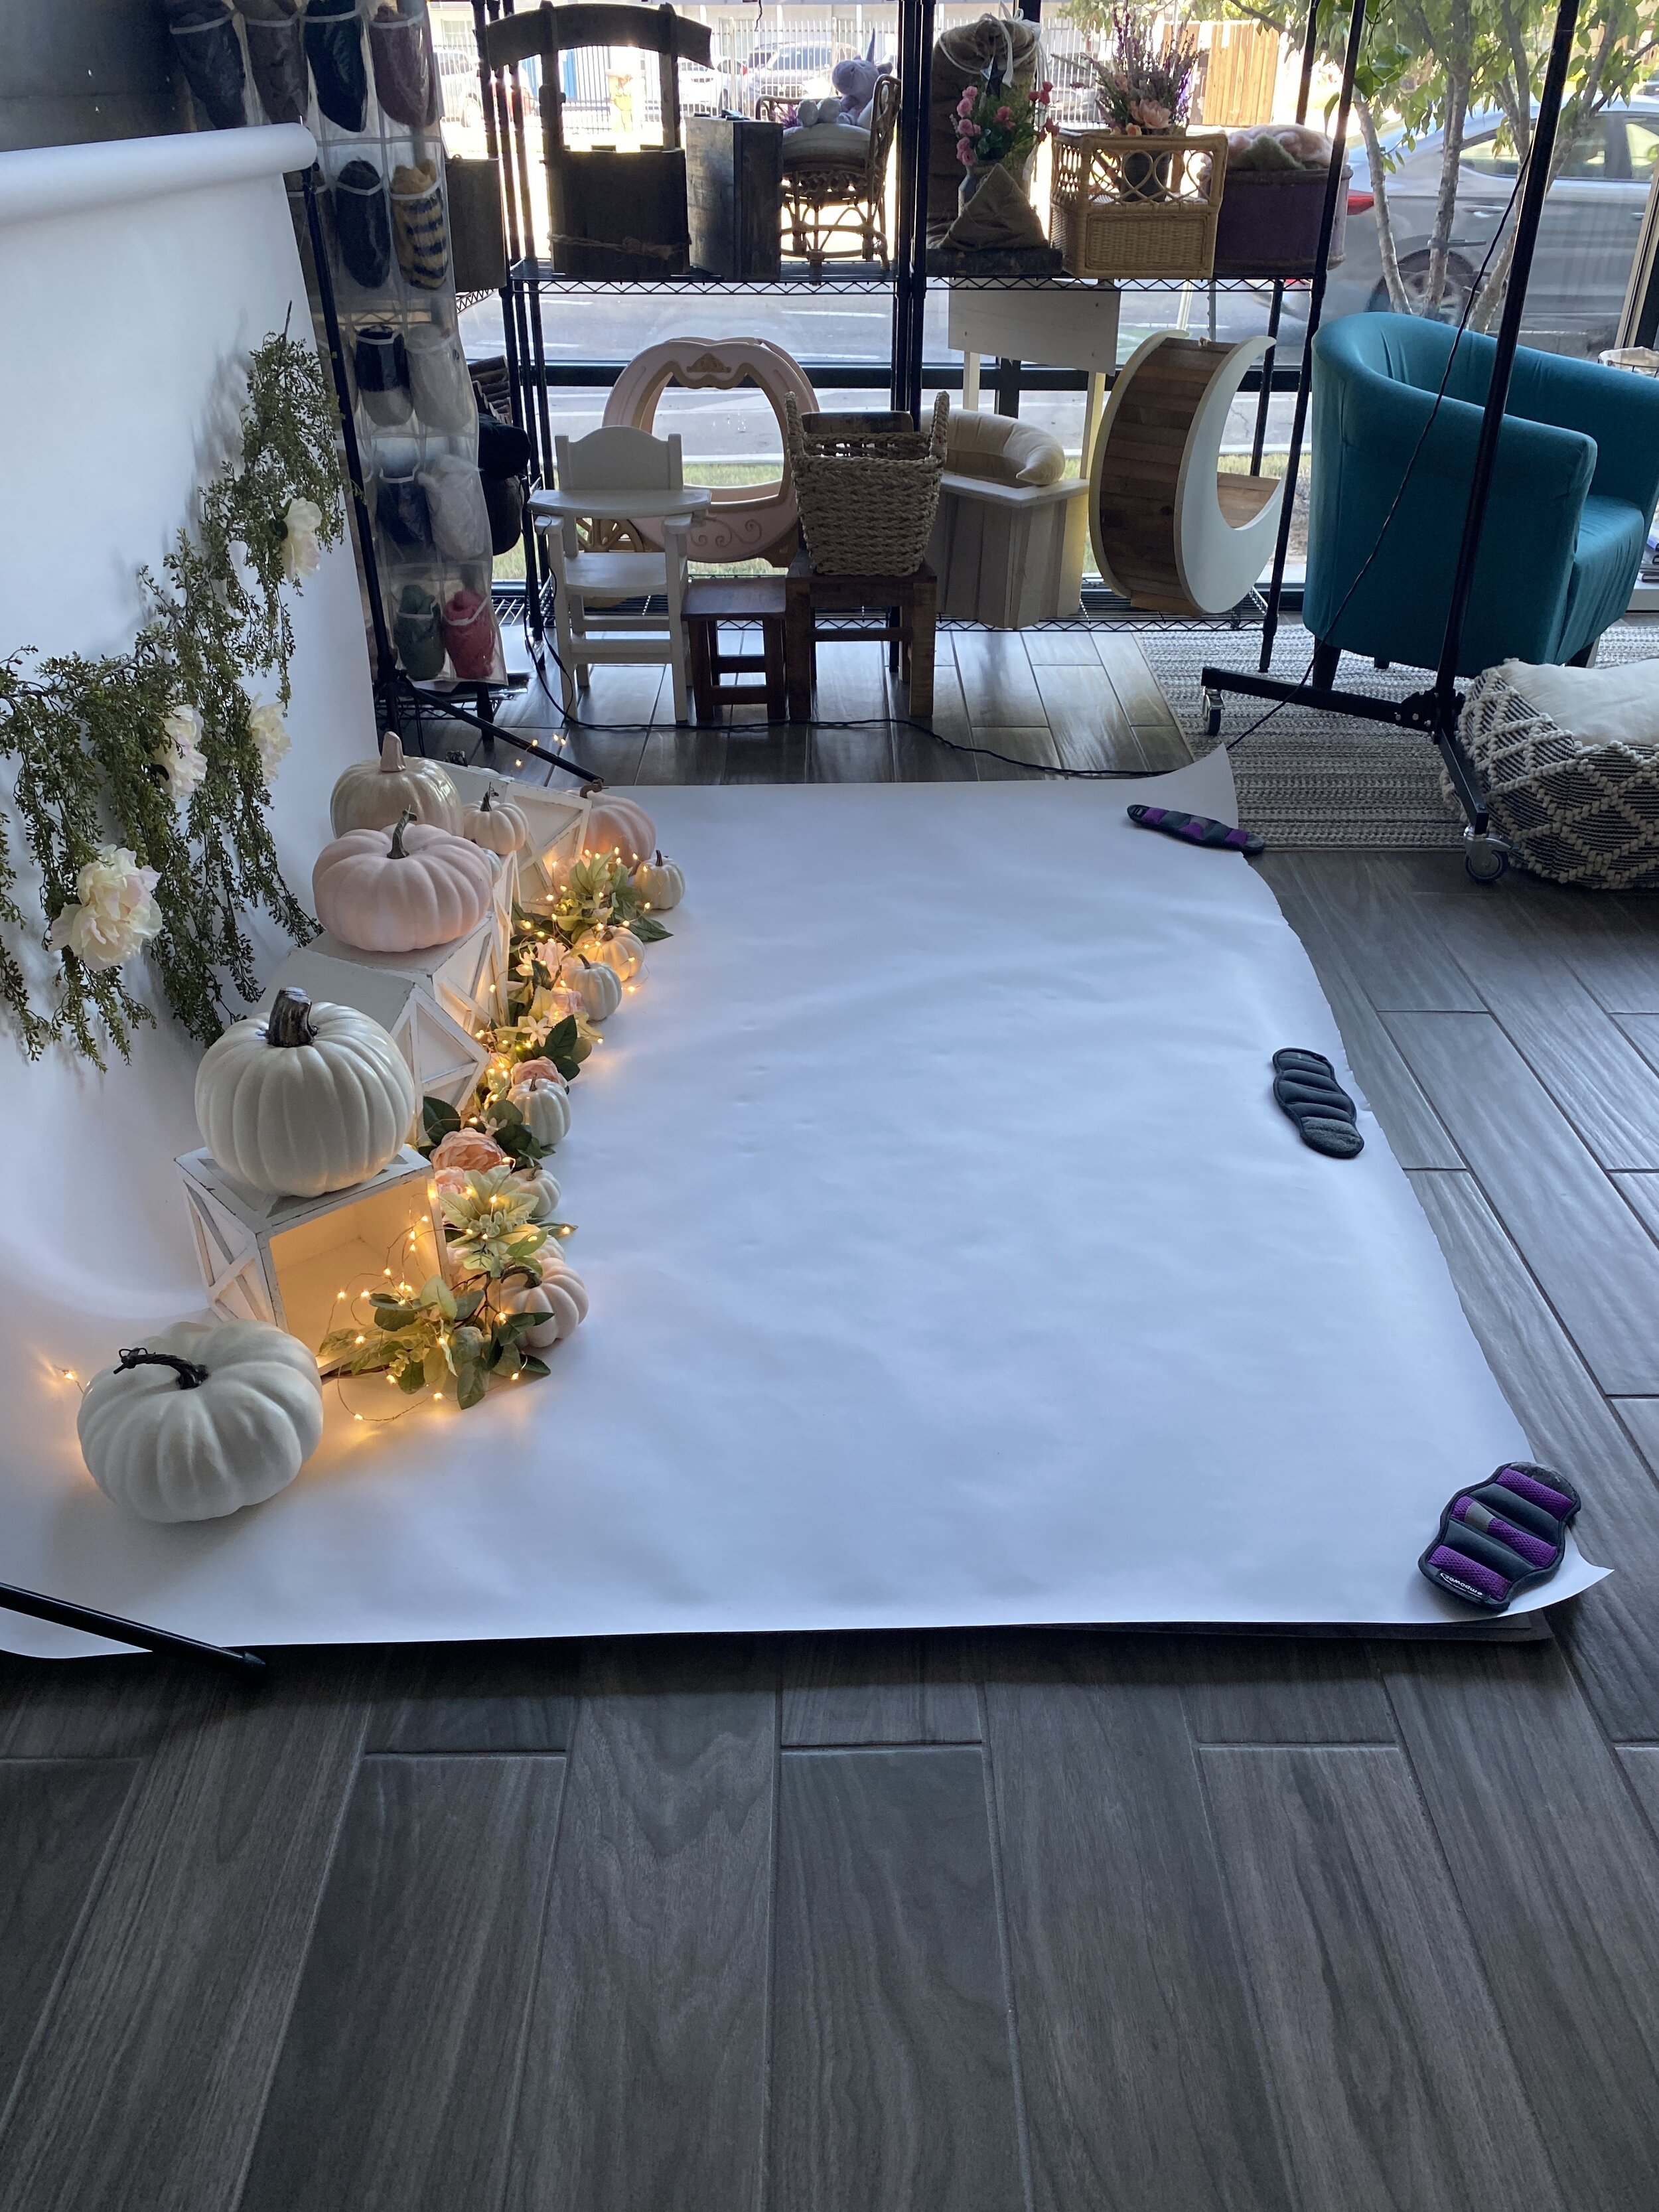
These images were shot with my cell phone in natural light. The paper backdrop is 86” wide and there’s about 5’ rolled out on the floor.
First off, let’s see what we need:
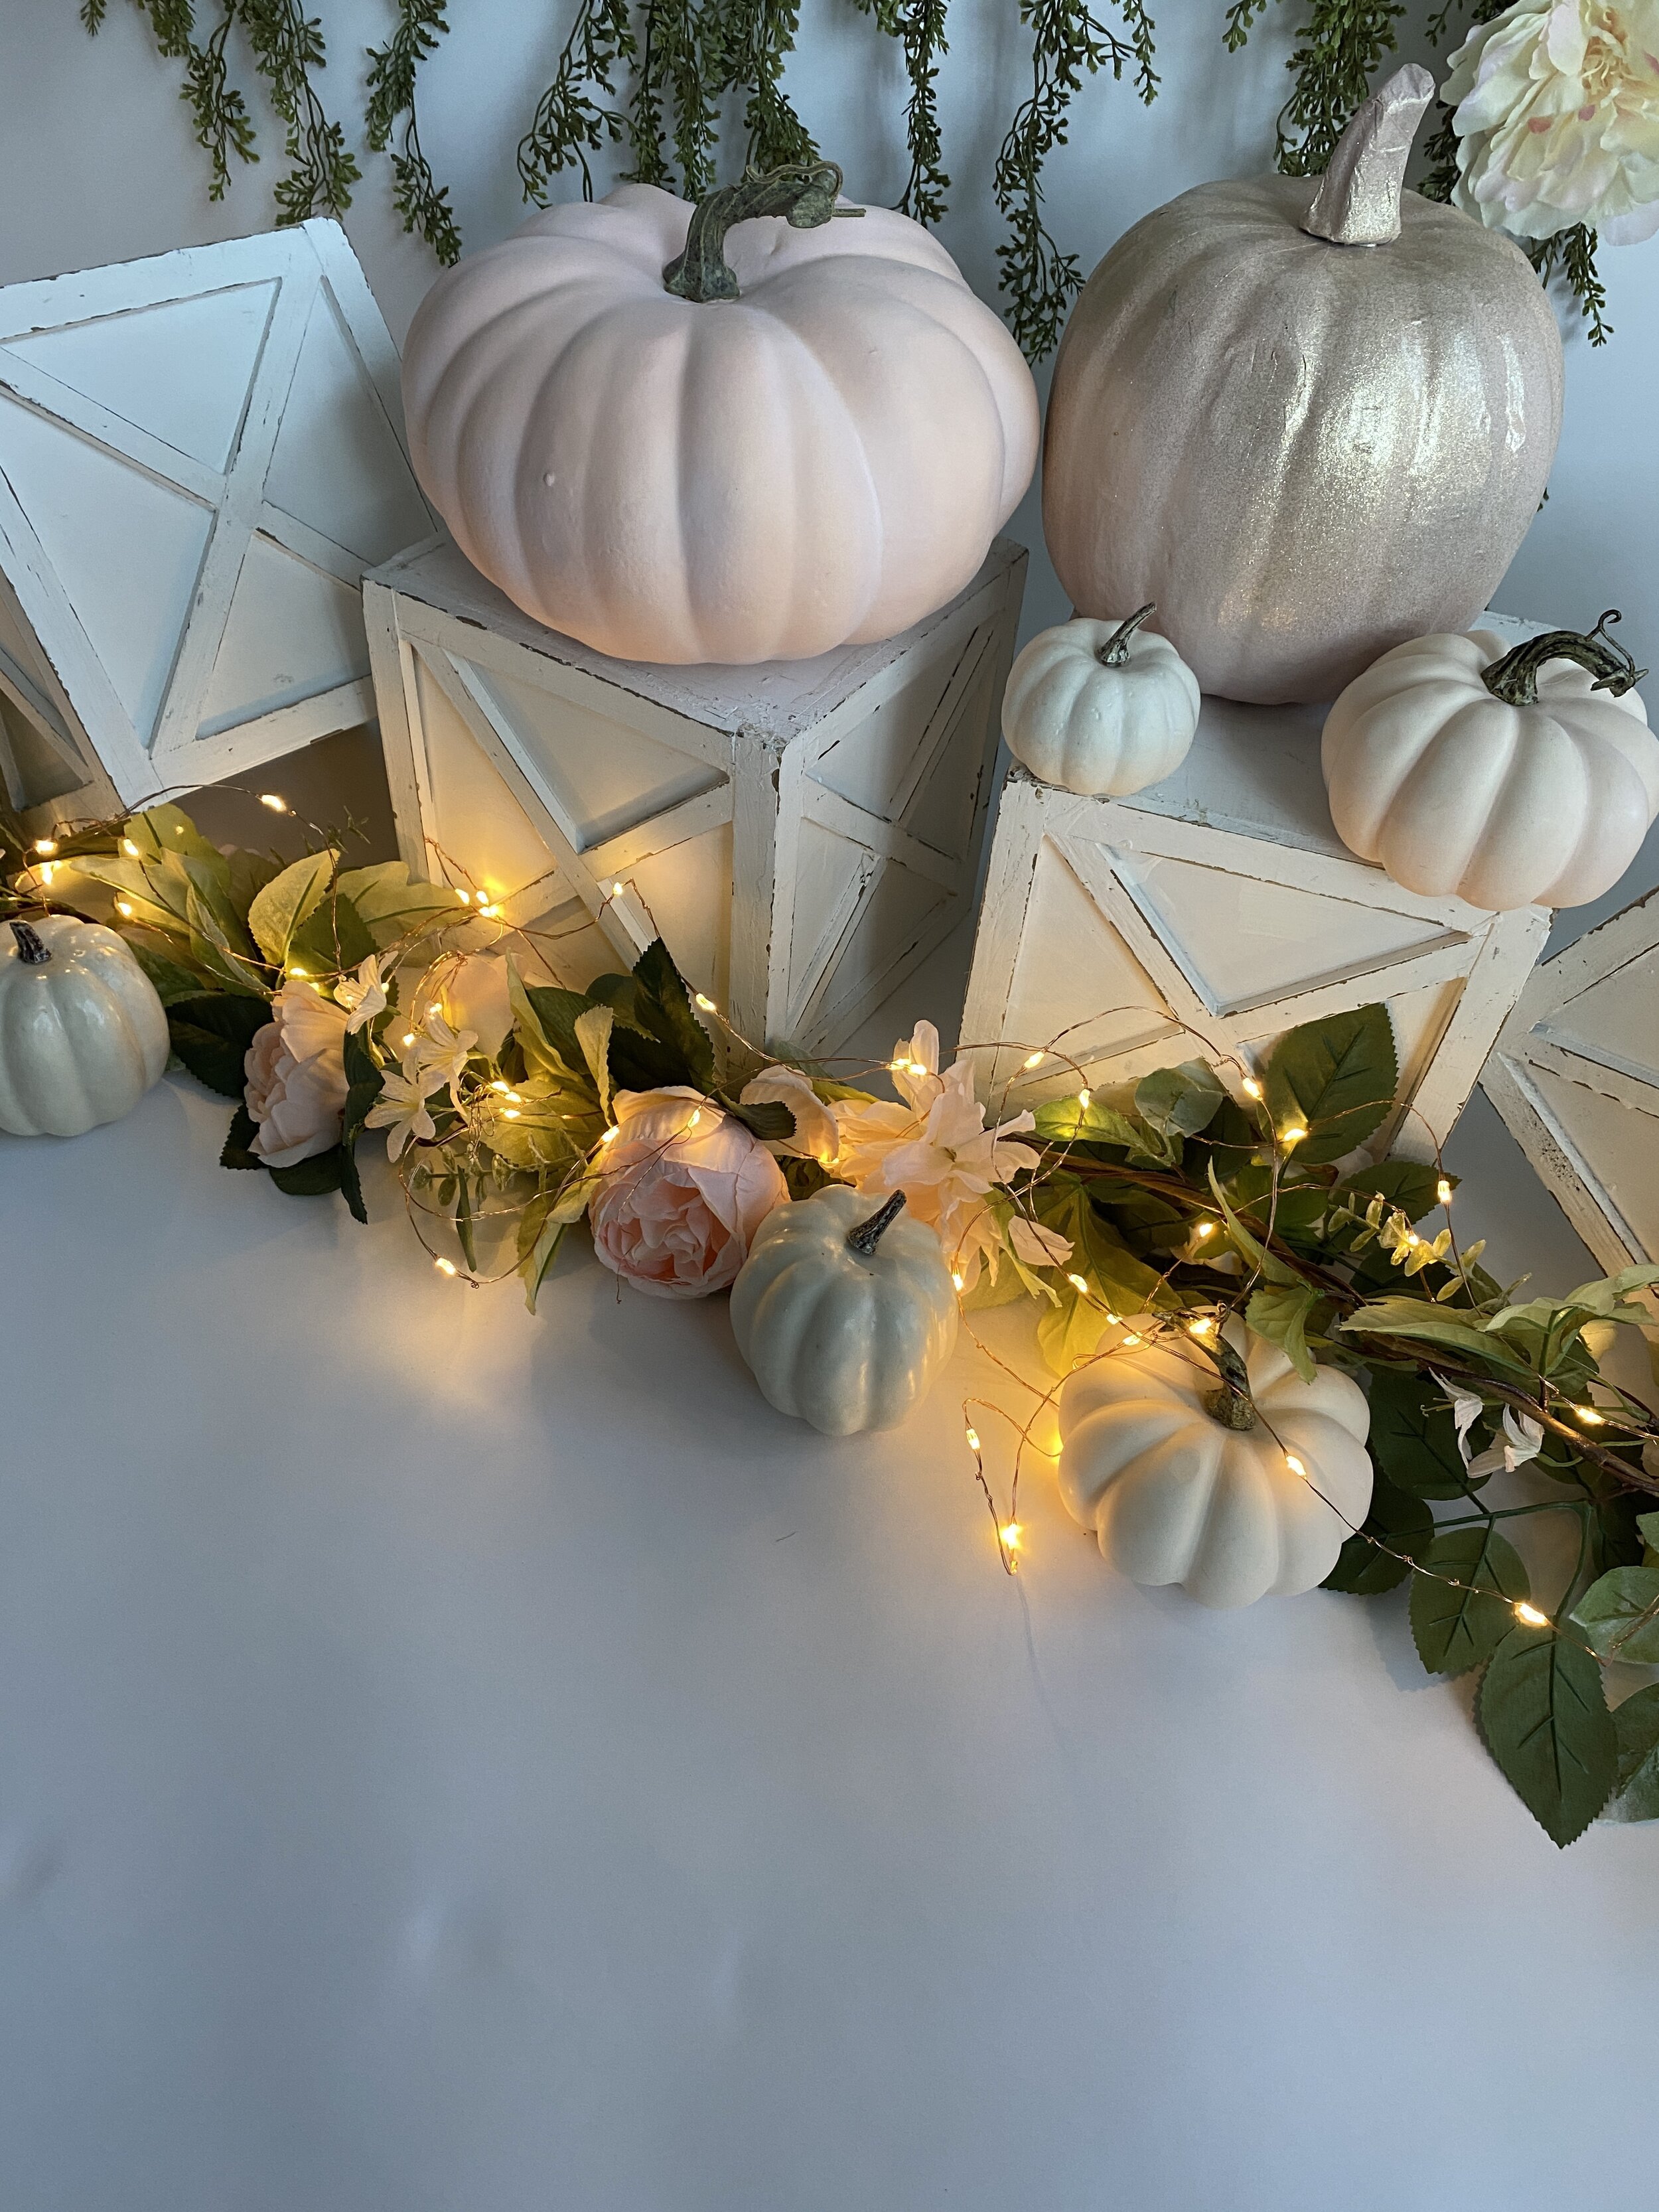
Twinkle Lights - here’s a link to the lights I use on my Amazon Recommendations Page. They are LED copperwire firefly/fairy lights on a 20ft strand, and I almost always use just one strand. It’s plenty to reach across an 86” backdrop. One word of warning…these things are a bitch to keep untangled!! I may or may not have thrown a set or two away just because they got so tangled… and I was trying super hard to NOT tangle them. So, just be warned. Always always always take the time to carefully wrap them back up and secure them when you are done.
Studio Lighting - I use an Einstein light and a 64” PLM, but any lighting will do, including natural light. I prefer the consistency of studio lighting. I always leave my Einstein on it’s lowest possible setting
Camera and Lens - I’m currently using a Canon R6 and the 28-70mm Canon lens. It is preferable to have a lens with a possible aperture setting of f/2.8 but it’s still possible to get the effect with an aperture of f/4.0 and even f/5.6 if you have enough space in your studio (more on that later).
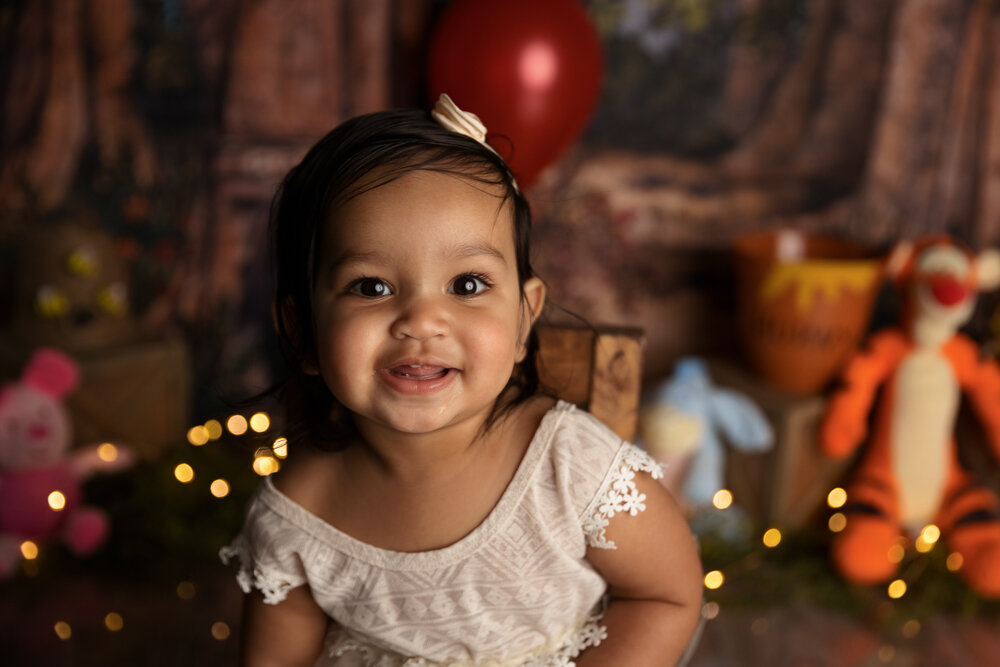

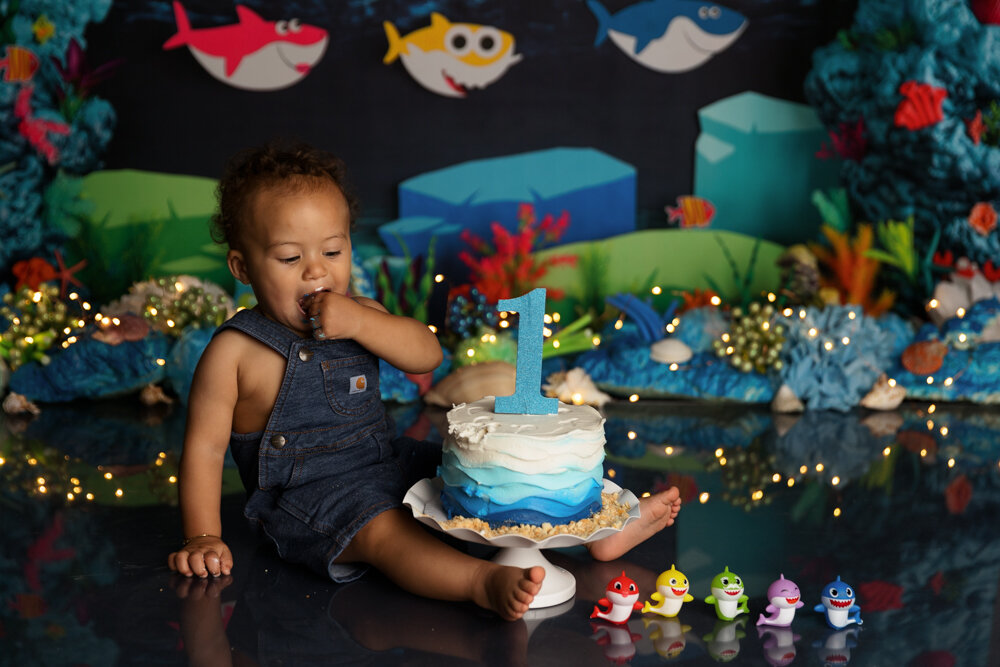
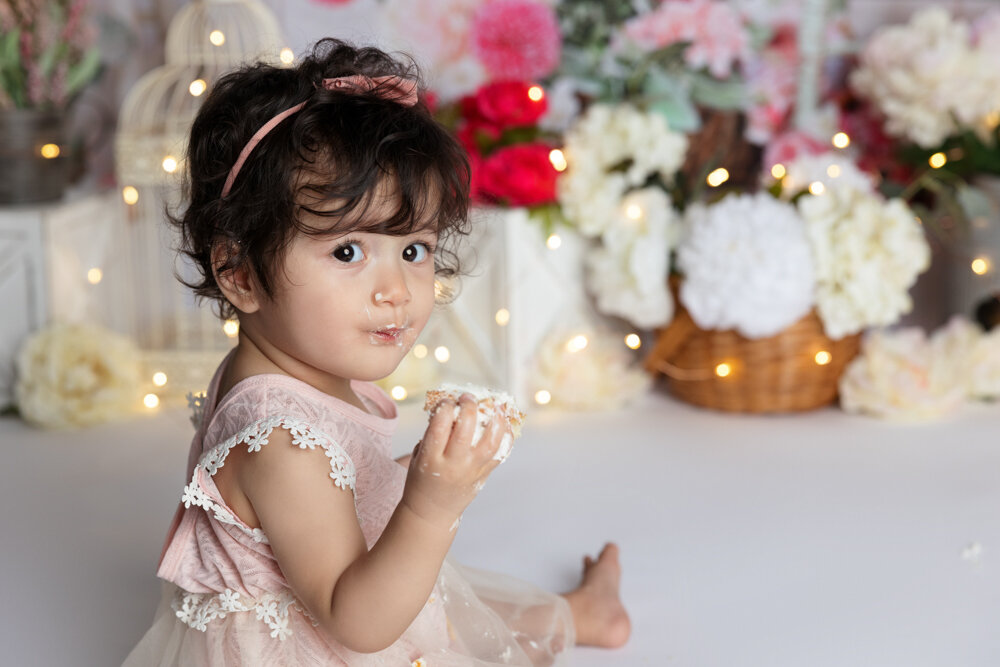
Your ‘narrow depth of field’ is achieved with your fastest lens (widest aperture). For newborn sessions I prefer an aperture of f/2.0 so the background blurs out and just the baby is super sharp. For cakesmashes and milestone sessions however, I usually go with f2/8 or f/4.0. This is because the baby is moving so much and so fast that it’s harder to nail focus and that little bit of extra DOF gives me a better chance of getting them in focus. All of the photos above were shot at f/2.8, shutter speed 200, and ISO 400. NOTE - instead of adjusting the settings on my Einstein light, I adjust my ISO. So if I’m shooting a newborn at f/2.0 my ISO is usually at 100 or 200. But when I increase my aperture to f/2.8 or f/4.0 I need to raise my ISO to keep my exposure correct. And if all of that sounds like mumble-jumble to you, hit me up for an in-person or virtual class on shooting in manual. JDP Mentoring <—shameless plug 😬
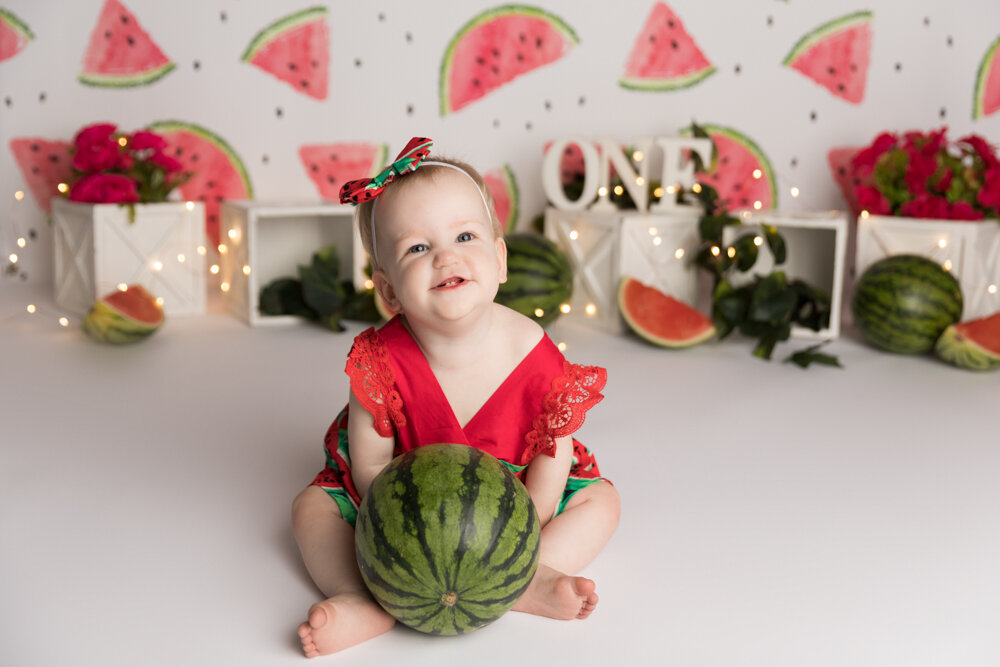
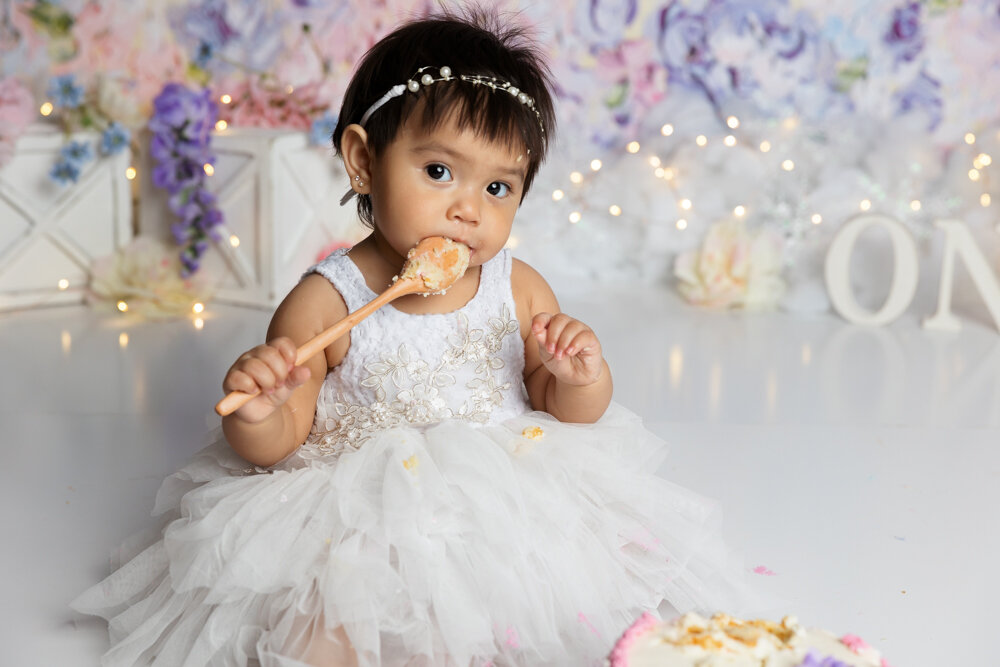
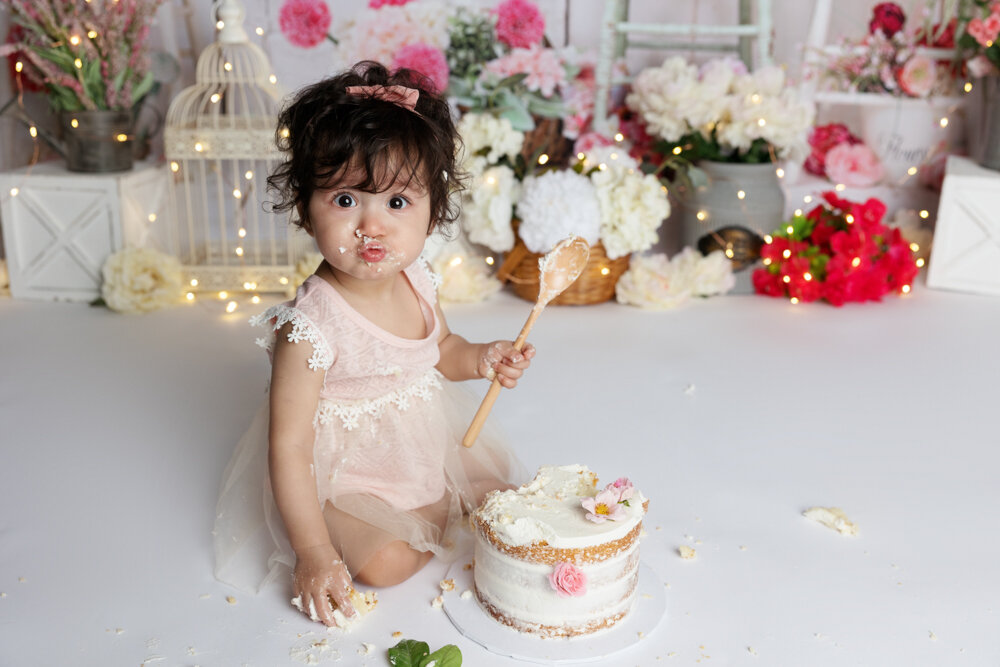
Now, if you look at the examples above, you may notice that sometimes the twinkle lights are small and sometimes they appear larger. Do you know why? Notice that they appear larger when I am more zoomed into the baby and they appear smaller when I’m taking a wider, more zoomed-out shot. The basic principle of achieving this bokeh effect is having your subject (the baby) as far away from the background as possible. My studio is quite small so they are generally only sitting about 3 feet away from the decorations. Another technique if you can’t get them any farther from the background is to use a longer focal length lens. An 85mm lens would probably be ideal, but I don’t have one. But using my zoom lens I can shoot wide and get the smaller effect or zoom in and get the larger effect.
Notice these 2 shots have the same settings except for the focal length. I did not change my actual distance from the baby, which was about 3 feet in front of her.

So, if you have the space available in your studio, get the baby as far away from the background as possible, use a large aperture like f/2.8, and either get close to the baby (if you are shooting wide with a 35mm or 50mm) or back up from the baby but zoom in with a 70mm or 85mm. If you do not have a fast lens and can only use an f/4.0 - f/5.6 aperture, these distance recommendations will help you get the best results.
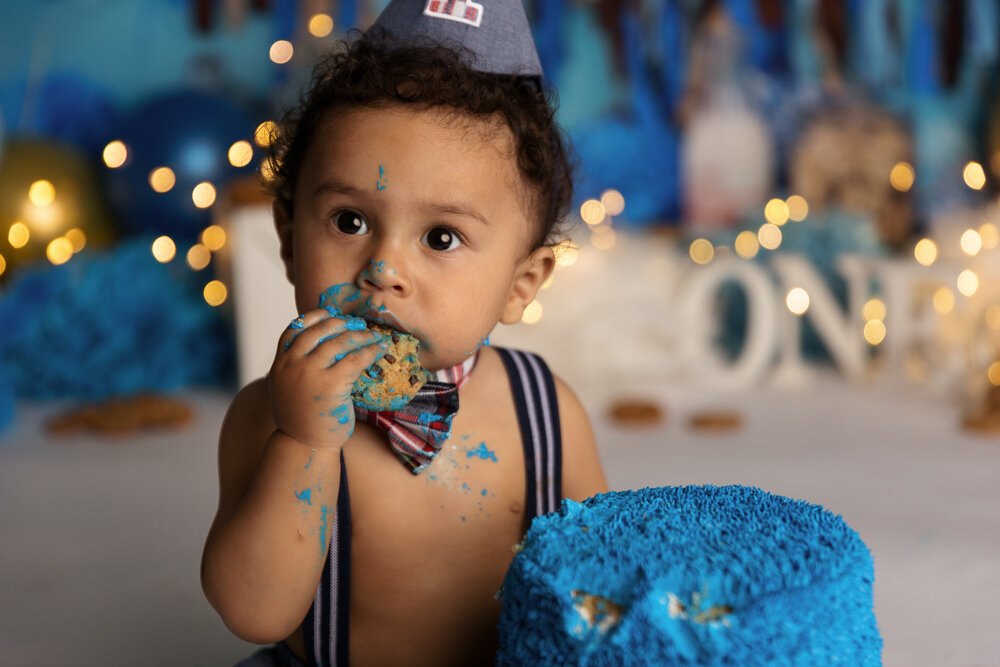
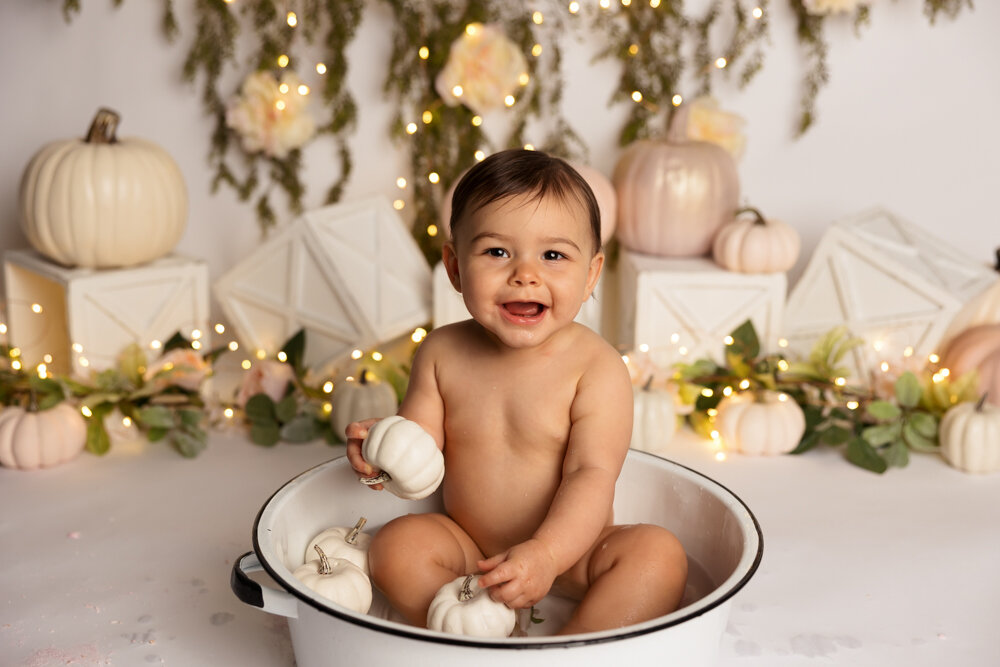
For the below session I used f/4.0 and the same distances from backdrop and subject. The lights appear a bit smaller, but not much.
Allrighty, so TL/DR:
Get some twinkle lights.
Sit your baby as far away from them as possible (3 feet or more).
Use the fastest/widest aperture you can (I prefer f/2.8).
Use the longest focal length you can (I prefer my 28-70mm at 70mm but an 85mm would be ideal).
Try it out and let me know how it goes! Feel free to leave a comment below or DM me if you have any questions!
~Jessica 💜
Join my Facebook group for live behind-the-scenes videos, tutorials, and chat about all things photography!